

Our recommendations for designing a great patch including choosing a patch backing and finding the correct size to fit your garment!
Patch backings
What to choose?
Our recommendations:
- Sew-on Backing is the lowest cost option. An Overlock Edge Border (aka Merrow Border) can provide a useful guide for sewing to the garment.
- Iron-On backing provides more options because it can be sewn-on or ironed-on. Best if you are not sure yet or need both options.
- A Hot Needle Cut border with Iron-On backing creates an integrated, low-profile appearance. It can look similar to direct embroidery.
- VELCRO® Brand is tough, removable, and interchangeable. The patch usually has the “hook” side. The garment has the “loop” side.
- Sticky Back is a pressure-sensitive adhesive. Perfect for quick applications! A residue however can be left behind after removal. This is manageable but be careful to take the steps needed to get a satisfactory result.
- Attach-MY-Patch™ is a new product developed by A-B Emblem. It allows for long-lasting attachment to be done at home without needing to use an Iron.
Picking the correct size
What’s going to work best?
Our recommendations:
- Uniforms: chest patches should be 3 to 5 inches wide. Sleeve patches: 3 to 4 inches wide.
- Scouts: 3 inches is a common size.
- Sports Uniforms: 3 inches is common.
- Clubs: 3 to 3.5 inches common.
- Souvenir patches for children: 2 to 2.5 inches wide.
- Corporate, School & Association apparel (logos for polos, button-downs & jackets): 1.5 to 2.5 inches wide.
- Motorcycle & sports car clubs: Chest patches: 3 to 5 inches wide. Back patches: 8 to 10 inches wide.
- Patches for travel bags, soft cases, and backpacks: 2.5 to 4 inches wide.
- Patches for Hats: Max 2.5 inches tall.
Measurements and Proportionator
How to measure a graphic design and convert it to a patch size
What steps should I take?
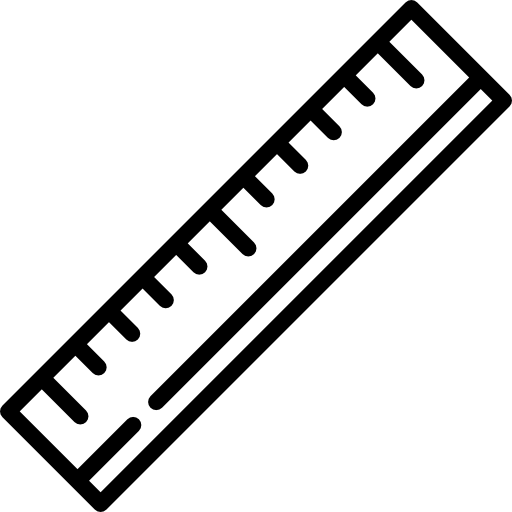
- Draw or print your graphic. Or, you can adjust the size on your computer screen to fit a ruler.
- Accurately measure the original width and height to within 1/16th of an inch.
- Please check this conversion table if you need help converting fractions of an inch to a decimal point.
- Write down your original dimensions.
- Enter your original dims and then the new patch width (or height) into an online proportion wheel.
- Your other patch dimension will automatically populate.
- Write down your new patch dimensions or take a screen capture for later.
Please visit our Patch Gallery!
Looking for inspiration? We invite you to visit our Custom Patch Photo Gallery and to visit our Vimeo.
More about Designing a Great Patch
Please make sure to visit our companion page Design Tips from A-B Emblem and Parts of a Patch to learn more about designing the perfect patch.